|
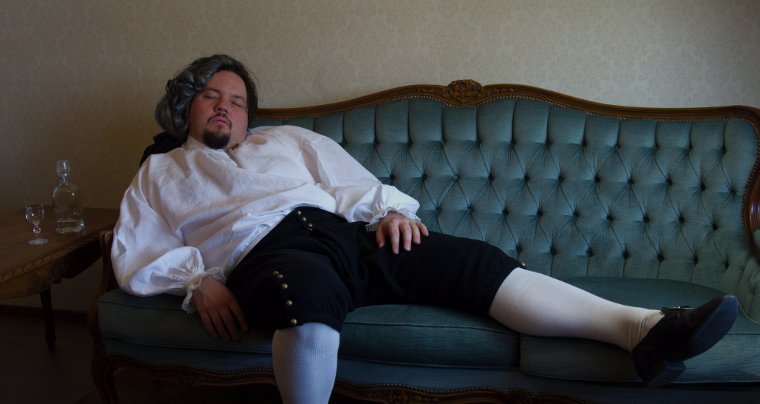
| Men's shirt, 2012 Re-enactor's closet seems to always lack basic linens, at least in this household. It took a shamefully long time for Jarno to get a second shirt. This time I used the best shirt material I've come across so far (thanks to Riikka), a very fine italian linen. It's so densely wowen with fine thread that it's much slower to sew by hand than any other linen I've worked with, but the result makes up for the extra effort. |
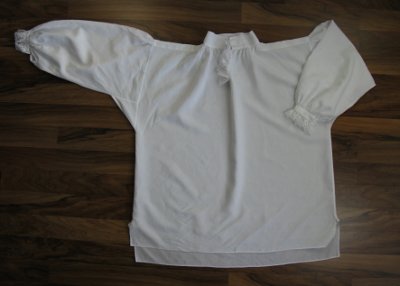 |
| The construction is
based, like in Jarno's first shirt, on Garsault's
instructions intrepreted by La Couturiere Parisienne.
The seams are sewn by machine and flat-felled by hand, and
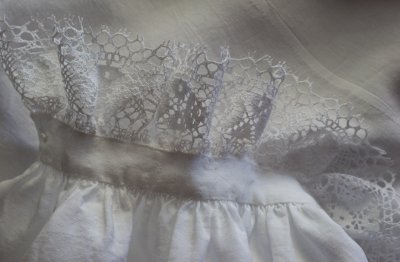
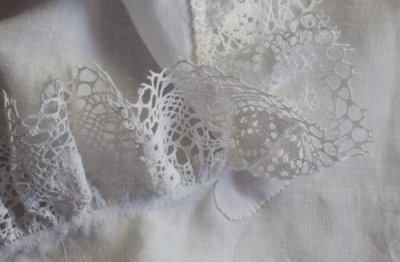
all the gatherings and hemmings are done by hand. I began on the sleeves, which were easy to work with while they were still separate from the shirt body. I gathered the sleeve ends to a 2cm wide wrist band and added a gathered cotton lace on the other edge. |
 |
| On
the shirt body I first made up the shoulder reinforcement
bands with the neck gussets and sewed them on their place.
This time I made them longer than in the instructions, which
clearly were meant fit a less well built period fop. Like in Jarno's first shirt, I made a little modern tweaking by lowering the front of the neckline by 3cm as it just fits so much better and is also more comfortable. |
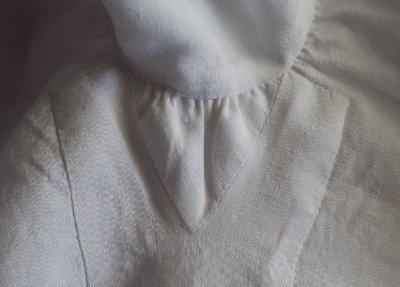 |
| This time I also managed to get the front slit
reinforcement piece quite heart shaped, as the dense linen
didn't ravel so easily. I think I used gathering thread on
the edges too to help turning and ironing them. I managed
to burn my fingers with steam nevertheless. |
 |
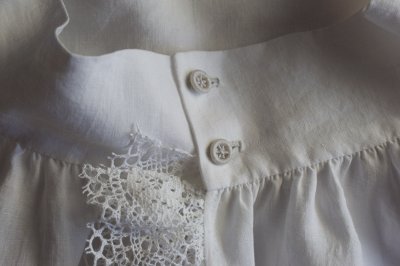
| I
gathered the neckline on the collar, again taking the
(perhaps modern) precaution of measuring where the shoulder
should end up for the collar to fit properly. This caused
the back part to be more gathered than the front. After finishing the gathering on the front side I sewed the underside of the collar on the gathering. The finished width of the collar is 6cm. |
 |
| After
finishing the more time-consuming details on the wrists and
neck I got to making up the shirt. I was happy to realise
that after making a few shirts I didn't have to rack my
brain anymore about how the heck the underarm gusset is best
sewn in, it all went quite smoothly. It's all done in flat
felled seams like I already mentioned - they are more work
than french ones but I'm still grown very fond of them. |
 |
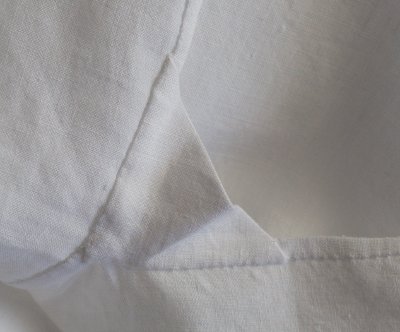
| In
the first shirt I had left off the slit gussets, which I
lived to regret after a few launderings - there is a reason
why they were there! This time I added them, and learned
that they were not hard to make at all. Of course, I don't
know whether the method I reasoned is period correct or not,
but it works. |
 |
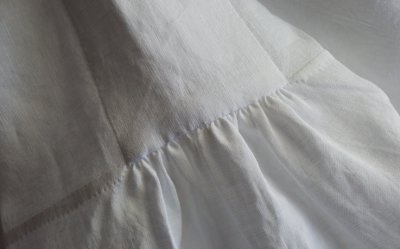
| Another
thing I changed from the fisrt shirt was to gather the extra
material at the shoulder instead of pleating it. I
wasnät quite sure where the seam allowances should go,
but it felt logical to finish them between the shirt body
and the shoulder reinforcement piece. I had already
turned the flat felled seam on the sleeve's side, so I had
to twist them a bit. |
 |
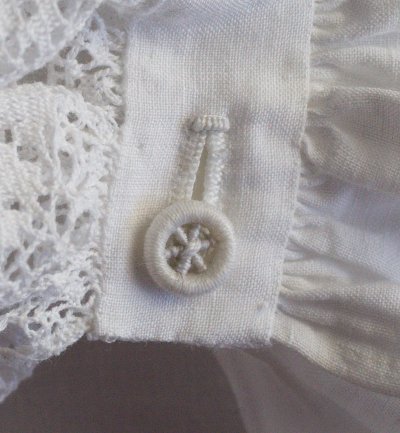
| The
buttonholes are worked by hand with a heavier stitching
thread, which I also used in making the dorset wheel-type of
buttons. The plastic rings I used for the base are thicker
than the period variants made of bone, so the buttons are
not quite that elegant, but at least there's an attempt to
get period-looking buttons. A good tutorial for thread
buttons can be found here. A relatively simple item such as a shirt took some time due to the high amount of hand-sewing, but the result makes up for it. Even though a shirt belongs strictly speaking to the category of underwear, details such as sleeve ends and neck are still visible, and moreover Jarno may sometimes remove his coat in company although a gentleman ought not to. Anyway, regardless of how much of the hand finishing actually shows, there is something charmingly old fashioned and sweet about sewing a shirt for one's husband. |
 |
Jarno's first 18th century shirt >> << Back to the Project Page |
 |