A wedding dress, veil and handbag with a bit over 100 Euro's. Not bad. Sometimes you do save money by making things yourself. Apart from that I also managed to include parts of the project in my studies.
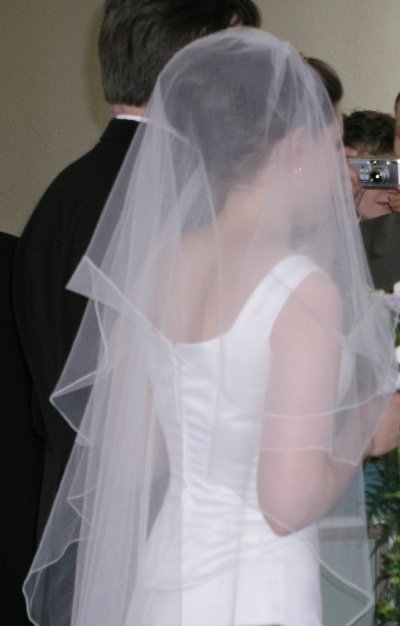
At first it was really difficult to decide what kind of dress I wanted to have. A common problem, I believe (well, know, since I've sold them too), especially when I also had to consider the cost, my skills, and the amount of work I was prepared to put to it, with all the other school projects on my hands at the time too. If I was getting married now, I'd perhaps have a rococo dress, and I did for a long time imagine a Victorian bustle dress, but this is what I ended up making - I was having a little less fluffy and more clean period then. I still like this, though, it's at the same time both simple and flowing, and of course tulle is just so bridal. Unlike most dresses at the time it's bright white, not ivory - a bit hard colour in the satin, but works well in tulle.
There's a separate bodice with a corset-style cut, the pattern was made with the help of a dressmaker's dummy and several mock-ups. I used a lot of time to get the seams shaped just how I wanted them, though on the finished dress they don't really stand out.
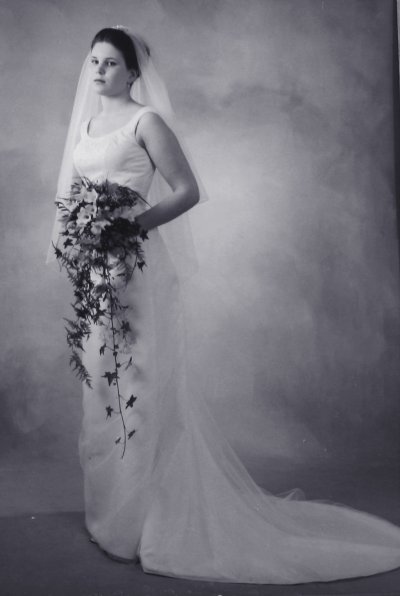
This photograph is property of Valokuvaamo Nevalainen, published on the site with their kind permission.
I have manipulated the tone of the original monochrome picture slightly.
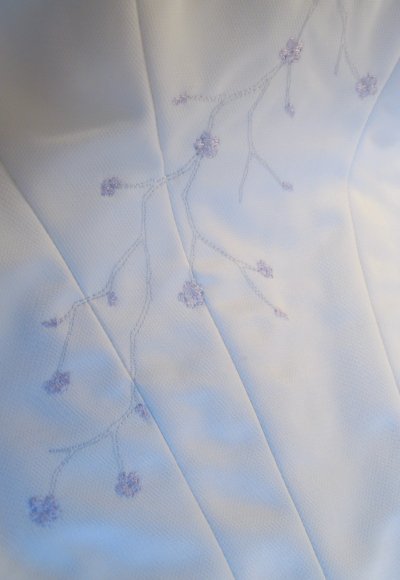
It's supposed to look like blossoming branches of a cherry tree, by the way.
Embroidering a close-fitting bodice is somewhat different from embroidering a scrap of material. First I basted the tulle over the satin (which was backed with iron-on interfacing), then basted the seam lines, and cut the pieces leaving a lot of fabric around the actual pattern pieces. I made the seams at the places where the embroidery crosses them (see the picture), but I had to leave the surface quite flat to get it into the embroidery frame, thus I could not make all of the seams as some were very curved on the bust area - even with my cup size. I also had to be completely sure at this point that the bodice would fit, as there would be no altering these seams any more. I made the embroidery in a several parts with a few different motifs that formed one large one in the end.
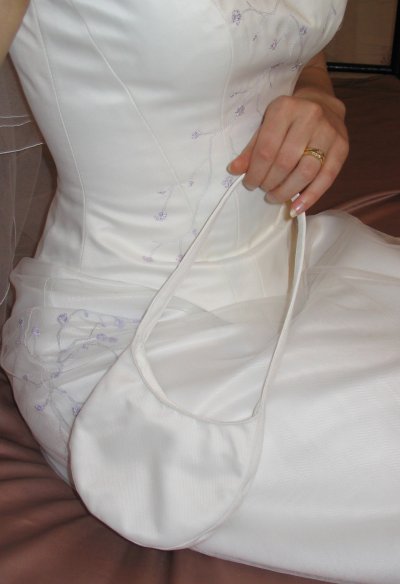
After finishing the embroidery I cut the extra fabric and made the rest of the seams. The satin covered with tulle was quite stiff, and as the bodice had shoulder straps, I decided boning unnecessary, also fearing it might show through. Perhaps the front would stay straight when sitting etc. if boned (unlike in the picture with the handbag), though, but it looks good in the official pictures anyway.
There are two layers of tulle over the satin skirt, the first follows the cut of the satin (being only just a little wider), the one on the top (embroidered on one side) is longer at the back and gathered at the center back seam to form a cascading effect. I originally planned to gather the side seams like in another dress I had seen, but somehow it just didn't work when I tried it. After some cursing and banging my head on the wall with it I decided to try to gather the center back, which turned out very pretty. On hindsight the back could have been even more gathered, and there could also have been some tulle under the skirt to lend it some fluffiness, but at the time I was perhaps too careful to maintain the narrow line of the cut. In the train there is a tiny loop worked on thread, through which you can put a loop for carrying the train.
From the leftovers of the materials I made a matching handbag. I was not very experienced in making bags, which is a form of art of it's own, and yet I was quite perfectionistic about it. It had to have the tulle over the satin everywhere, it had to have dainty proportions (always a challenge in itself), it had to be neatly bag lined, and on the top of it all I was convinced only a tiny invisible zipper would do. After considerable effort I finished it.
The edges of the veil are finished using the same method as with the hem of the tulle layers of my skirt. First I sew a line of stitching about 5mm from the edge, then ironed the turning exactly on the stitch line. Then I sew over the turned edge with a very narrow zig zag, so narrow that every other stitch was just over the edge and every other on the other side of the supporting thread sewn first. Then I cut off extra fabric turned under, leaving just the stitch at the edge, as tulle does not fray. It sounds more difficult than it is, really, it only requires some patience, and gives a really delicate finish I think.
<< Back to the projects