
One of Kaisa's requests was that the dress would have some way of altering the size slightly in case of weight fluctuations. I had previously made her front laced stays which have plenty of room for size adjustment. At first this sounded an impossible demand considering the tight fitting bodice of a typical roundgown, but then I remembered the roundgown on Arnold's "Patterns of Fashion" with front lacing. It was more of a narrow, decorative front lacing, but in any case I thought it might just work to give the dress at least some little room for adjustment. It was also a nice design detail.
The material
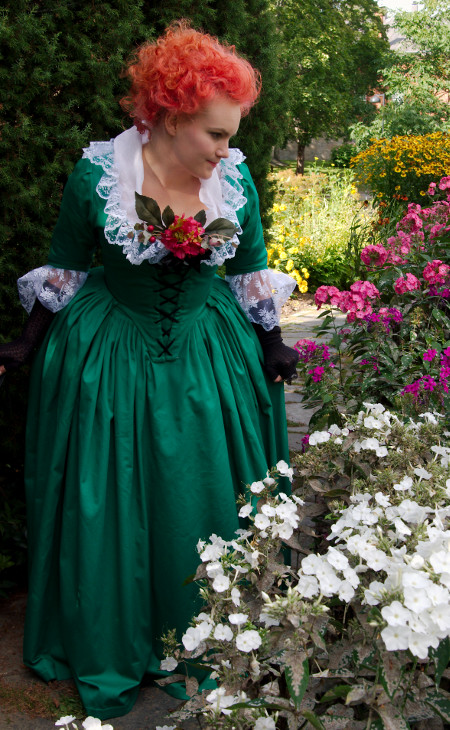
When
we were shopping for the materials Kaisa got a sight of the
brightest green fabric imaginable - it was hard to find a
thread as green to match. I thought it at first to be way
too bright to be totally period, but after my eyes got used
to it I became rather inspired by the vision of an 18th
century absinthe fairy. Otherways the fabric was a very good
choice too: it was a cotton twill with light sheen, nice to
work with, nice to wear and washable.
I began to work on the pattern based on Kaisa's stays pattern. Following the pattern given by Arnold I drafted the back seams curved, but unlike in it I left the side seam which might have moved to the back by this date. Making the dress pattern from stays pattern was far from exact science, and the first mock up version had massive problems, the armhole going way too high and the side seam needing more curve to name just a few. The second fixed mock up fit much better, and allowed me to concentrate on details like the neckline shape and the opening for lacing at the front. I also pinned a narrow tape in the middle of the center back piece to get the shape of the decorative seam to divide in two.
The sleeve is based in my own pattern for my first polonaise. I drafted it lower and wider at the sleeve head and arm. Mock up revealed it to be still too long at the arm and too narrow at the top. The second fixed version looked okay, and I pinned the pleats on the sleevehead and marked them on the pattern.

To my
great delight the stays I had just finished were obviously
very comfortable, as Kaisa spent several hours wearing them
while I pencilled, cut and taped back together pattern pieces
and cut and sewed mock ups. She even took an afternoon nap
wearing them! I got the bodice and sleeve pattern finished
that day, which was great as Kaisa lives quite far nowadays
and only visits from time to time. We even had time for a long
walk and a silly romantic period film in the evening.
I
wanted to be able to machine sew most of the bodice. The
largely hand-sewn construction in my own striped polonaise
with the fashion fabric pieces mounted one by one on the bones
lining had been nice, but a lot of work.
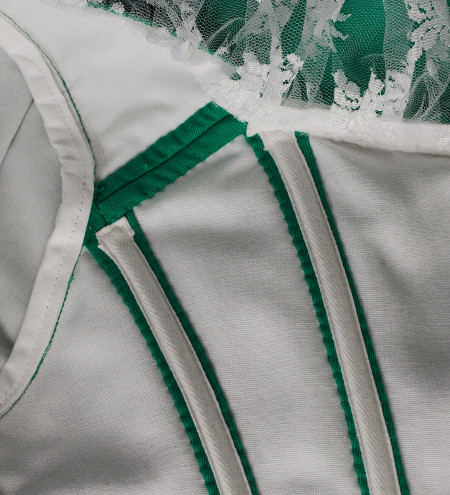
For the lining I used strong but not very thick cotton-polyester-blend. First I sewed the green twill to the lining pieces on the back pieces (I also made the seam that is just a pleat on the Arnold pattern as a real seam) and then machine sewed the pieces together as one. I pressed the seam allowances open and sewed cotton tape in them to form boning channels. Like I said, I had planned to avoid hand sewing, but I just couldn't finish the seam allowances on overlock but just had to sew them to the lining by hand.
On the shoulder pieces I sewed the layers together on the neckline side and turned them around. I also decided to take a shortcut with the sleeves, just sewing them on like I would in a modern garment and not sewing the shoulder piece on top of the pleats in the period fashion.
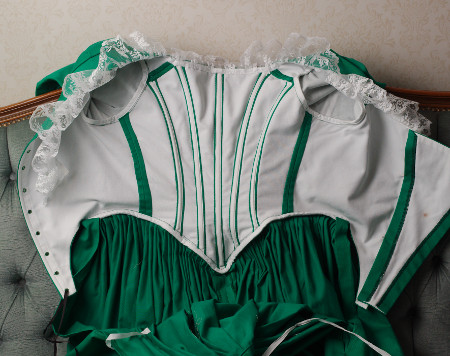
According to the drawing on "Patterns of Fashion" there are separate strips with lacing holes added on the front of the dress for the lacing. The front edges closed at the center front. It seemed to me rather like an added detail. As I wanted the lacing for size adjustment, I decided to cut the center front edges to leave a gap between, make lacing holes on the bones edges and make a narrow stomacher in between.
Another thing that puzzled me was that the lacing eyelets were set even, not off set like in the standard 18th century spiral lacing. On the drawing the dress was laced with just one string. I was very sceptical that the edges would line neatly at the ends, especially as the eyelets were set quite far apart. Okay, maybe if the dress was closed with hooks in the front and the lacing was just decorative. Anyway, as it was quite clear in the picture, I decided to go by that.
I bag lined the front edges and left an ample seam allowance on the lining's side so that I could add a boning channel to support the lacing. On the front neckline and the tip of the front edges I turned the edges under and sewed them together by hand. I lined the sleeves with thin cotton batiste and basted them on for the fitting.
On the fitting the bodice looked pretty much okay, and the sleeves settled nicely with just tweaking the front edge slightly. I also pinned some lace on the neckline and we decided the right width. After the fitting I neatened the rest of the seam allowances, sewed the sleeves on for real and made the lacing eyelets.

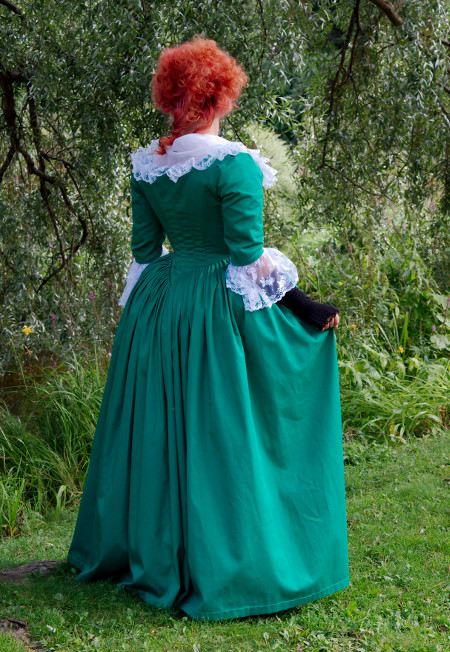
I used three fabric widths for the skirts, one for the front and two for the back. On the fitting I had measured the approximate skirt length at various points over the big poofy bumroll. I began by pleating the the front skirt on waistband, as usual leaving a straight gap in the pleating at center front. Then I joined the two remaining fabric widths and shaped the top edge following my measurements, which looked very much like in the Arnold's pattern. Then I pleated them to bodice with about 1cm distance between the pleats. On the tip on the center back I made one larger pleat and sewed it one separately.
On the fitting we first put on the still separate front of the skirt, then followed the dress, and then I could pin the side seams together. To my great irritation I noticed that the waistband would peek under the bodice edge. The bodice very easily ends up too long at the waist when you fit it over underpinnings but not all the skirts, so it seems that this time I had been overly careful to leave it short enough. About 1,5cm too short, it seems now. Well, as I did not have any seam allowances to speak of there was nothing to be done now, except to take of the standard narrow white waistband and replace it with a wider one made from the dress fabric.
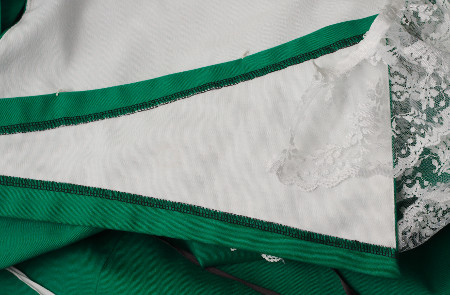
Apart from the problem described above everything looked promising at the fitting. Kaisa had lost some weight during the summer, so the front edges came almost together at the bottom, which made my generously cut stomacher way too wide. I had made the stomacher as a light, unboned flap for altering the size easily. I finished the edges fast and dirty with overlock so they would stay thin, turned the extra allowances under, pressed and tacked them to the lining. This does not look very cool on the inside but makes it easy to widen the stomacher again. We all know how easy it is to gain a bit extra weight when the long dark winter season hits us again.
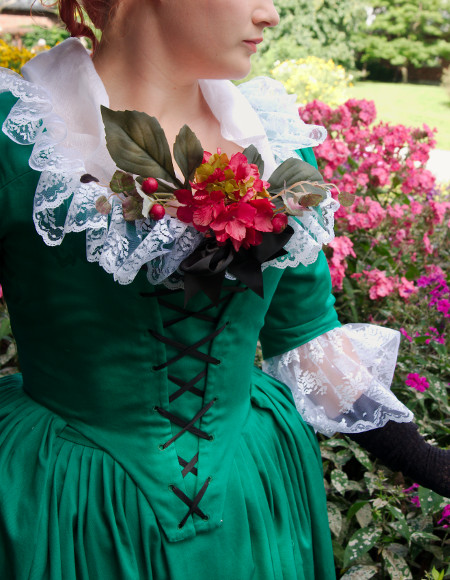
There
was, however, another problem, one that I had even
anticipated: The spiral lacing just did not work. The top
and bottom edges would not stay even. I gave up and tried a
criss-cross lacing instead. It looked pretty, Kaisa told me
she did not care much whether it was period-correct or not,
and I had a feeling I had seen a late 18th century criss
cross lacing somewhere. It turned out that the painting I
had in mind was that of "Mary Robinson as 'Perdita'" , and
there the criss cross lacing was between buttons in the
bodice. But judging by the title she is wearing a stage
costume, so that can't really be counted as a serious
documentation for every day clothing.
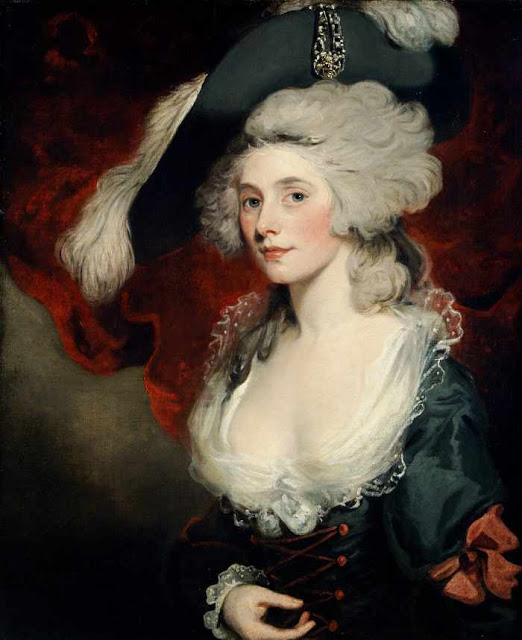
attributed to John Hoppner
I discussed the matter with a
friend and he made a good point: Even though the museum
piece in the book is spiral laced it does not absolutely
prove that the dress would have originally been worn this
way. To doubt Arnold's knowledge is not the first thought in
my mind, but still it was a valid point.
I
mentioned the matter to Sanna of Rococo Atelier,
who knows much about late 18th century fashion and collects
picture sources much more actively than I do. Like me, she
thought she had seen it somewhere, and promised to inform me
if she would happen to find a reliable source. And lo and
behold, a few weeks later I found a portrait of Lady Elizabeth
Foster on my facebook wall! In it she wears a dress in a very
similar style with a most obvious narrow criss cross lacing in
the front. We had already decided to use criss cross lacing,
but it was great to get a documentation of a matter that had
puzzled me. Later Sanna also posted me about a couple of other
fashion drawings with criss cross lacing from the same period.
Many thanks to her!
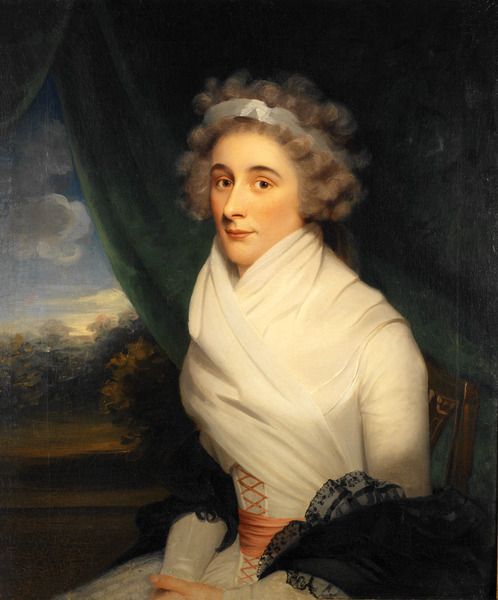
Richard Cosway, R.A. (1742-1821), English "Portrait of a Lady",
Lady Elizabeth Foster, later Duchess of Devonshire
So what was left still was hemming the skirts and adding the lace ruffles. The ruffles perhaps should be sewn on the shift, but as a re-enactor with not that many spare sets of underwear it's useful to leave your shifts as versatile as possible in case you want to wear it with something with long sleeves etc. True, the period sleeve ruffles were usually made detachable, but Kaisa hates sewing so I can't really see her tacking them on and off, when I even I don't always seem to get it done.
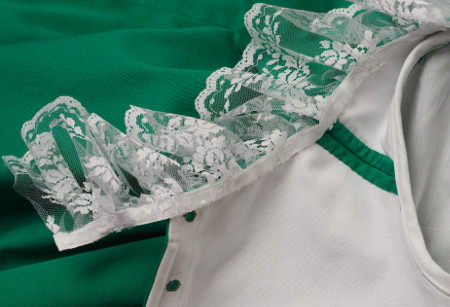
I had
already washed a small piece of the lace with the dress fabric
to check whether it would stain in wash, luckily it did not. I
made the ruffles detachable anyway by pleating the lace into
cotton tapes which I then tacked on the sleeve ends and
neckline. It was also a lot easier to pleat the lace into a
tape than the large dress.
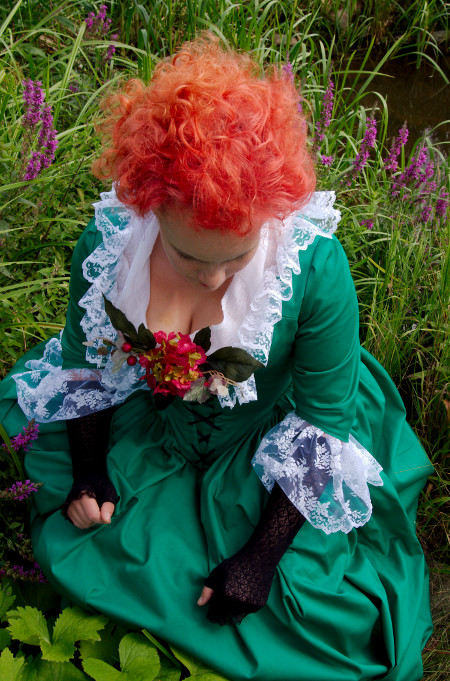
In the front I left the ruffles longer so that they can be pinned over the stomacher gap. To cover this I made a black satin bow with a safety pin on the underside.
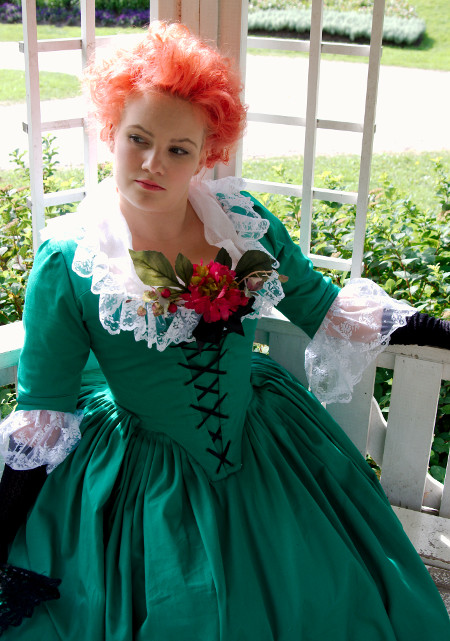
Conclusion
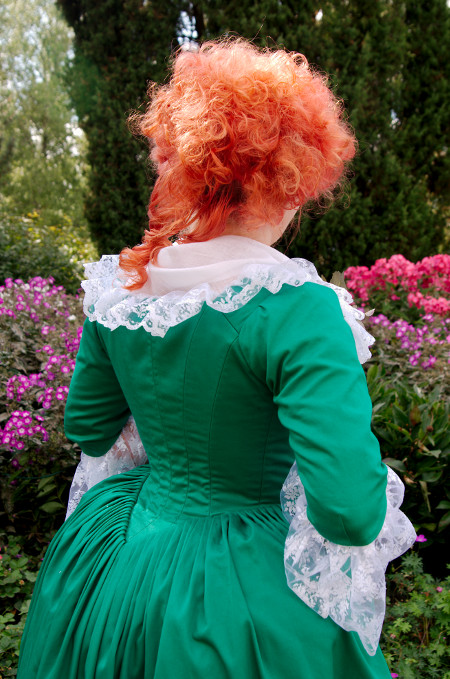
The dress ended up very pretty. Of course I could have done it with a more period-correct construction, but I think my modern shortcuts are not too obvious. The fit is okay when you consider we had only a few fittings. There is of course the problem of the waistband peeking out, but I'm mainly happy with the rest of it, especially the shape of the back seams, which, though not totally 1780's are nevertheless aesthetically pleasing. The best thing is, of course, that Kaisa is very happy about the dress, she finds it both beautiful and comfortable and feels at home in it.