Stays, 2013/2014
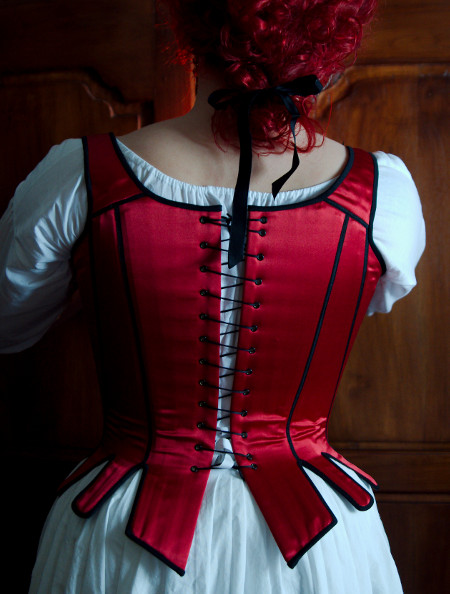
I decided to make very basic stays with hidden boning channels and a wide front lacing over a separate stomacher like several pairs I have made. The stays are half-boned with 8mm wide cable tie. Kaisa wanted her period persona dated to 1780's due to both aesthetic reasons and her academic fascination with late 18th century literature. Front laced stays are not really correct for the period, but they allow easy adjustment for the bust curve and a lot of sizing allowance so they were a safe choice for a first pair of stays. The advantage of being able to put them on yourself is also handy in the modern world.
Kaisa is used to wearing victorian style corsets, so she could easily tell when the amount of compression was right for her. I took the measurements with her wearing an under-bust corset, so I got the waist circumference I would aim for, and we estimated the level of the raised bust and the front length for the stays, how high the armhole should go etc.
Kaisa's measurements were close to my friend Ida's, to whom I had recently made a pair of stays, so I used her pattern as a base for Kaisa's. I added 0,5cm to all pattern edges on the seams. As Kaisa has a wider back than Ida I left the center back of Ida's stays for lacing edge without reducing anything for a lacing gap. On the front I lowered the very high front edge on Ida's stays a bit and left ample allowances on the stomacher at this stage.
I made the first mock up, where Kaisa who was visiting for the
fitting helped by cutting the bones. There would, of course,
be plenty of tweaking. The back was too long at the waist and
pressed the back muscles uncomfortably so I had to open the
slits between tabs for several centimetres. The back seam also
needed more curve to give more room at the waist. On the other
hand the lacing gat was wider at the top, so I took 1cm off at
the lacing edge at the waist. I also took the side-back/side
piece seam a bit in at the waist, where the waist is more
flexible.
At the front
the side-front seam needed much more curve to create the more
curvaceous late 18th century silhouette. The generously sized
stomacher was also of course way too wide. The front edge,
however, was a bit too low, and the neckline sides had to
shaped a bit.
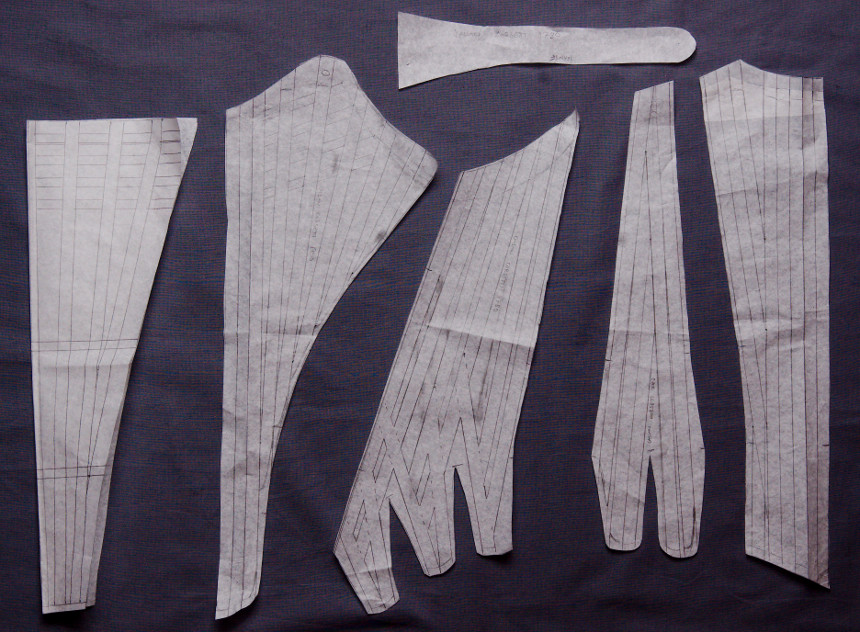
The shoulder straps were too wide apart at the back and the underarm needed some re-shaping too. Due to all the tweaking with the back seams and straps I ended up placing the side-back seams to end in the middle of the shoulder strap base. The side-back piece became curved and widening at the bottom, and it actually looks something like in the stays pattern in Kyoto Costume Institute's Fashion- book (part one, page 126).
I also got inspired to draft some of the tabs anew. On the side piece I reduced them from four to three and shaped them more triangular to give the stays at least some 80's flare. The wider tabs also allow using wide boning, as trying to jam 8mm wide boning into period correct boning layouts with narrow tabs is often impossible. The back tabs also got a slightly more refined shape.
I made a mock up version number two with the alterations listed above. It still needed a few little changes. Apparently I had partly misplaced the curve on the side-front seam, which resulted in too much room at the underarm. I took 1,5cm off at the top and curved the seam a bit more in at the waist instead. I had been afraid that the underarm might chafe and thus left it rather low before, but now it seemed like it could well be higher. I raised in a bit, reasoning that it could easily be lowered still at an later stage if only I left the boning end a few centimetres lower. The pattern in the picture above is of the final pattern. With it I finally cut the coutil.

Sewing the stays
The construction is very close to the one in my pink stays, with a few added time saving machine sewing tricks. First I marked the pattern edges and boning channels on a double layer of coutil, stitched them and them began inserting the boning. Several changes in the pattern caused most of the boning originally cut for the first mock up not to fit at all, and I had once again quite a work in replacing and trimming what I could of them and discarding the rest. After finally having complete boning I rounded and filed the ends, inserted them and closed the channel ends.
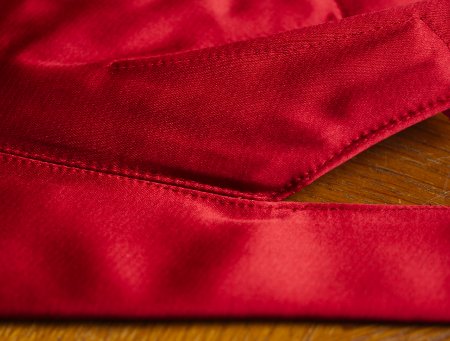
As Kaisa likes
strong colours I used red poly-cotton satin for the top
material combined with black edging. I placed the boned coutil
pieces on it and stitched the layers together at edges.
After closing the seams I have usually sewed down the seam allowances by hand, but as I had left a few millimeters gap between the seams and boning channels to make sewing the seams easier I now decided to try stitching the seam allowances open very narrowly just next to the seam. The method was quite handy and fast, and the stitching would in turn be covered by period-correct disguise of tape. I also stitched the tape on by machine, as it was black on black so the machine stitch is almost invisible.

To my great
annoyance I noticed, though, that the bone ends and especially
the crossing boning at the side-front top shows through the
shiny material, which highlights every little wrinkle too. My
pink stays had similar problems but thanks to the more
forgiving top material they did not jump out this much. On the
afterthought it would have been wider to add another layer for
the horizontal boning underneath, and of course the cable tie
is a bit heavy boning material for period look anyway.
My method of placing the boned coutil pieces on the top material and stitching at the edges easily leaves the top material a bit loose. Sideways this is actually intentional to prevent strain on the top material, but as the stays curve on a body it easily creates horizontal wrinkling at the waist. I think this effect is impossible to wholly avoid unless you stitch the boning channels through the top layer too, but it could perhaps be diminished. So, I took off the stitching that held the layers together at the lower edge and sewed them again while pulling the satin downwards. Later I used the same trick on the stomacher which curves a lot when worn.
When I was a bit happier with the way the
satin lied on the top I pinned the cotton batiste lining
on the underside.
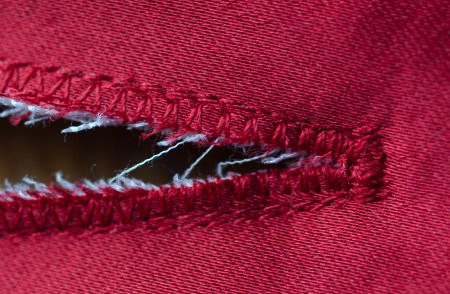
I stitched the lining on at the edges and hand sewed it on
the lacing edges. Then I trimmed the edges and neatened
the edges with zig zag, which I had found very handy in
Ida's stays. I also reinforced the slit ends between the
tabs with dense zig zag.
I cut the bias
tape for the edging of black cotton satin with a dim shine.
Despite all the quick and dirty machine tricks I had used
until now the lower edge of stays is something that has to be
hand bound. With less tabs it was not really such a massive
chore, though.
To save time
and my hands I even resorted to metal eyelets, totally wrong
for the period but easy (especially as I had them put on in a
shop and didn't even attempt to do it myself with inadequate
tools). Now the stays could be tried on for the first time.
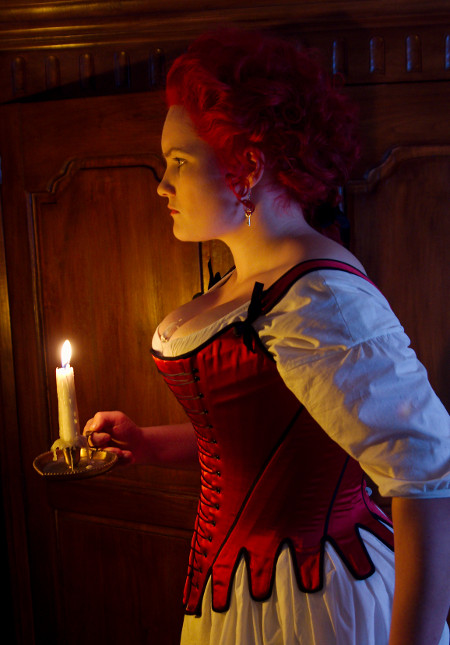
Happily the
shape looked right and Kaisa also assured me that the stays
were extremely comfortable on. As you can see in the picture,
the back waist still gaps a bit, so I could have well curved
the seams even more, but happily it doesn't affect the
comfort. I only wish I would have figured out this with my own
stays, as they tend to press my back at the waist when laced
very tight.
For the last thing I sewed the binding tape on the top edge and stomacher by machine on the right side. The underside is mostly sewn by hand.
After the two mock ups to get the pattern right and all the hassle with bones the stays themselves came together quite effortlessly. Thanks to the metal eyelets the amount of hand sewing was greatly reduced from the usual. I'm quite pleased how they turned out, the shape is pretty much what I aimed at and obviously they are comfortable to wear.
As I mentioned before, I made one clear mistake with the horizontal boning channels (and was too lazy to fix it), but other issues with the neatness are mostly due to my conscious decision to take all the possible shortcuts and concentrate more effort on the dress to come on top. Of course I should also have paid more attention in smoothing the satin over the pieces in the first place.
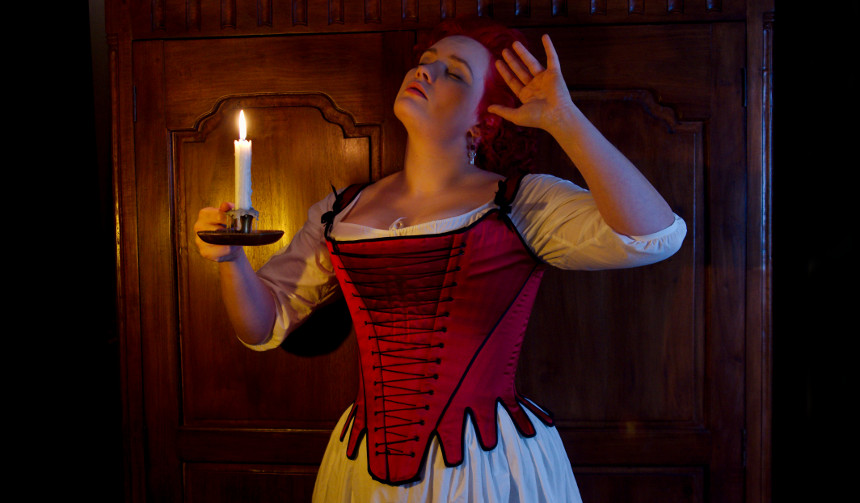
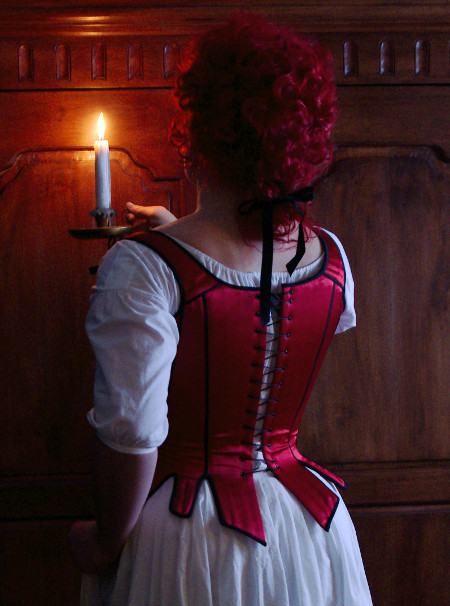
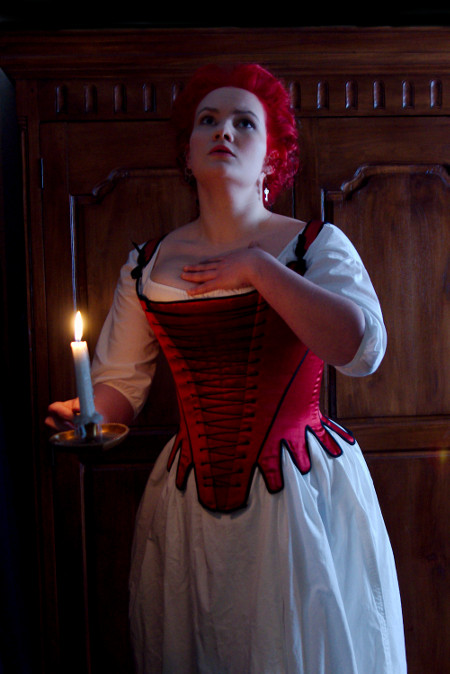
This is, by the way, one of the very few photoshoots where I have had the opportunity to be behind the camera myself, though of course with a lot of technical assistance from my husband. It was certainly much more fun that being in front of the camera! I had the idea for a gothic horror theme which was shot in the small hallway of our home, and I think it turned out very nice. Of course it helps that the model was extremely photogenic!