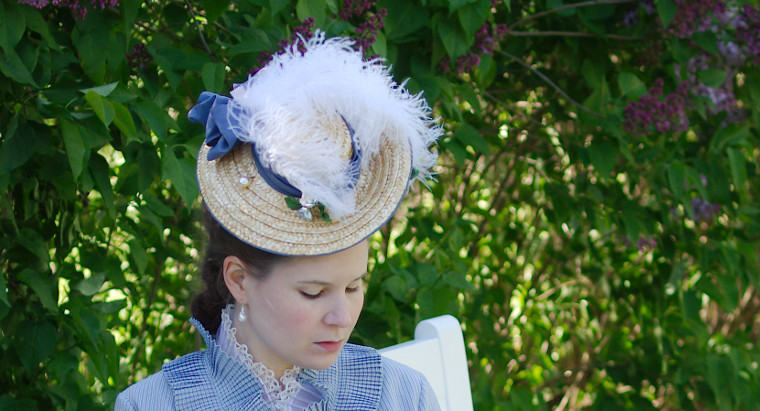
Hat,
2019
One of the things I love in late Victorian fashion are the lovely, stylish (and occasionally outrageous) hats. I have played a bit with hats in 18th century, but I am in no way good with them. Nevertheless, as one is not properly dressed without a hat I wanted to try my best and maybe learn a bit along the way.
My new 1870's polonaise dress urgently needed one, preferably something light colored, cute, suitable for spring and summer wear and with flowers and feathers.
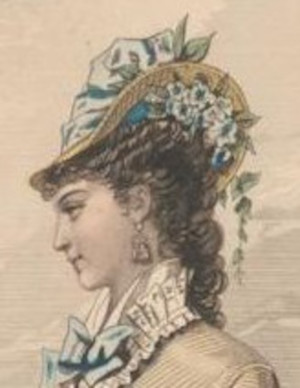
Revue de la Mode, 1877
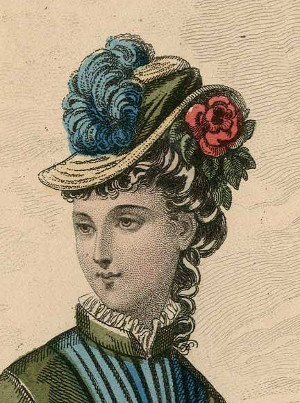
Journal des Demoiselles,
1877
Many hats of the era were made from straw, and as the color is just right for a light blue dress that was a natural material choice.
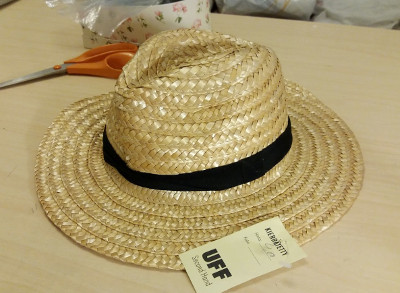
Unfortunately most of the cheap straw hats you can buy nowadays are made from wide plaits of rather coarse straw, much heavier than was used in the delicate period hats (or at least the high-end ones). This is, of course, a recurring problem with most modern materials. Anyway, I decided to use one of those from my stash.
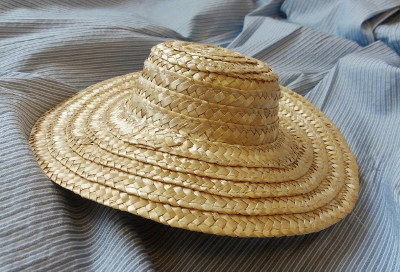
I took apart most of the hat and reassembled it into a smaller hat with a rather low, slightly conical crown. Figuring out the right proportions for a hat has always been difficult for me until I can really try it on, especially if its meant to be worn with a high or puffy hairdo.
I sewed the straw plaits by hand this time, because machine tends to break straw. The joins are not terribly neat because the straw is so wide, but they can be mostly disguised under decoration.
I first tried to steam and iron the brim to turn up on one side but it didn't really want to take a lasting form. My plan b was then to turn to metal wire.
Many period hats have the underside of the brim lined with fabric, and I thought this would be very convenient for hiding both the wire, my less than elegant stitches and the messy ends of the straw plaits. So, when I dyed the bows for the dress I threw in a piece of the same silk for the lining.
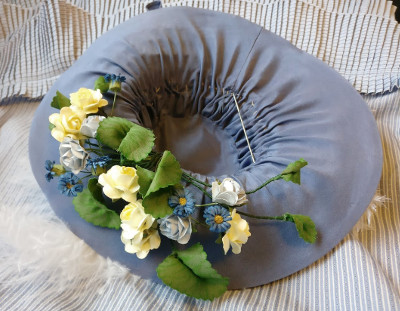
The final color ended up being darker than I had planned, so the hat too had more contrast than the pastel-toned look I had envisioned. I guess I could have used white silk instead, but as I wanted it to match the dress I went with the darker blue.
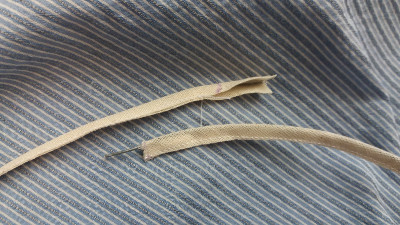
I have never really studied period hats up close in any detail, so the constructions methods are mostly a mystery for me, so I just improvised on what seemed to work for the purpose. First I sewed a narrow bias tape into a channel for the wire mentioned above and joined the ends to match the brim edge.
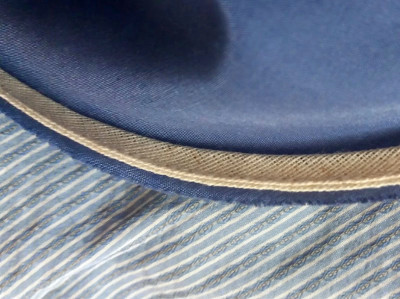
I had cut the lining piece in bias and joined it to a a bit shorter length than the brim circumference. I pinned it on the wire casing by quarters, stretched it to fit and sewed it on the casing edge.
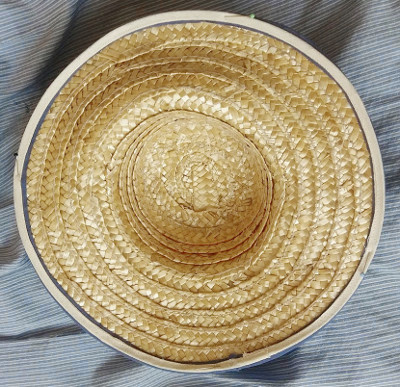
Next step was to pin the combined wire casing and lining on the underside of the brim so that the lining turned on the top side and the wire settled just over the edge. The wire works like piping here. The bias cut lining settled quite smoothly.
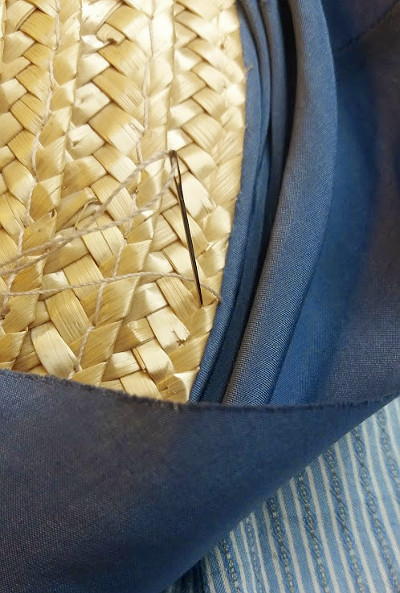
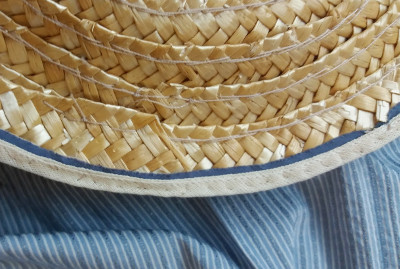
I fastened the wire casing on the brim edge by whip stitching just next to the wire so that the slanted stitches disappeared between the straws. While working I turned the lining away from the place I was sewing on.
The final result was quite neat and felt sturdy, and the wire really keeps the brim in shape. When I had finished attaching the wire casing I turned the lining on the underside, gathered the other edge and whip stitched it on the inside of the crown. As I had a bit of the material left, I also lined the top of the crown.
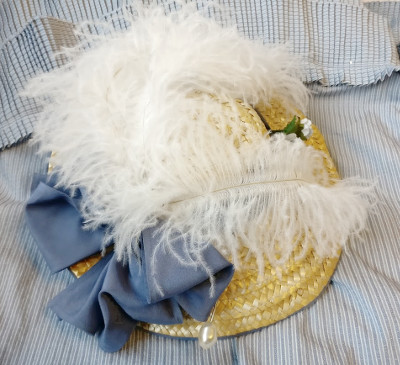
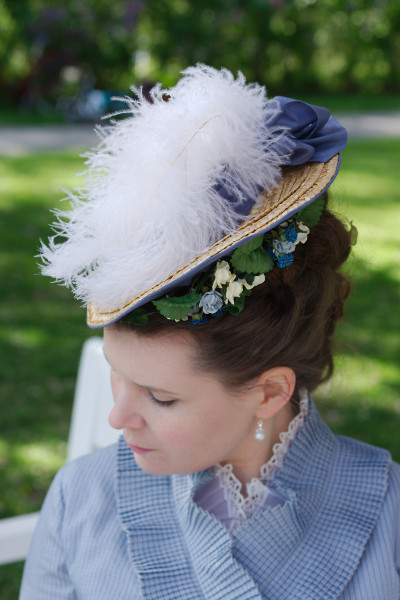
I curled three white ostrich feathers and fixed them on the back side of the crown. One was supposed to curl on one side and the two others over the crown, but in reality they have a life of their own and end up where they want to, especially if there is even the slightest wind.
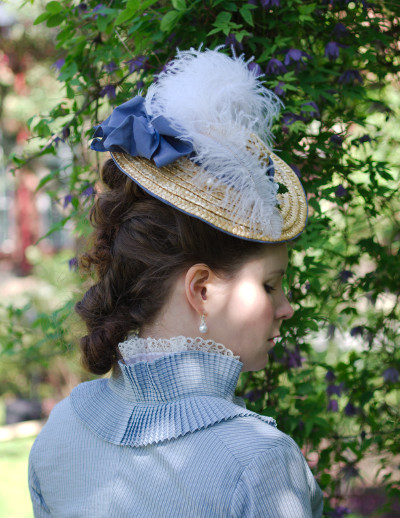
I had originally planned the polonaise to have two larger bows at the back, but ended up using only one, so conveniently I had an extra hemmed tape of silk for the hat. I wrapped it around the crown, securing it with stitches here and there, and made a large double bow from the ends at the back to cover the feather stems.
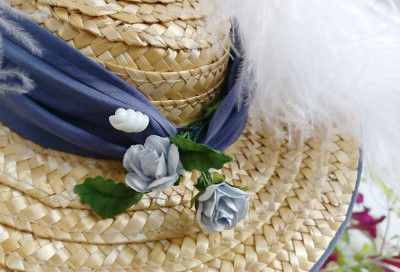
On the front I added a small decorative hatpin and with tiny flowers. The finished hat is fixed on the hair with a larger pearl-tipped hatpin, and the rat I used at the top of my head to give height to my hair makes it especially easy and secure.
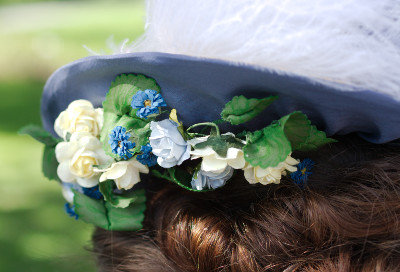
When making the ball gown I had developed a newly-found enthusiasm for making fabric flowers, so my original plan was of course make the flowers myself for this too. However I happened to come across some very cute tiny paper roses in perfect shades of pale blue and buttercup yellow, so I used them instead. From my stash I also found tiny paper flowers in darker blue to add some contrast.
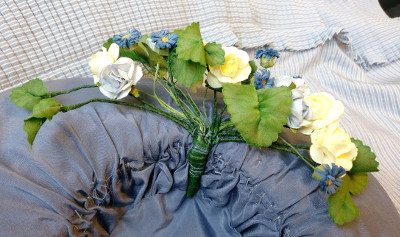
I had made tons of leaves for the ballgown flower wreaths, and still had some left over. I assembled the flowers and leaves on into some kind of bouquet which I fixed on the inside of the crown.
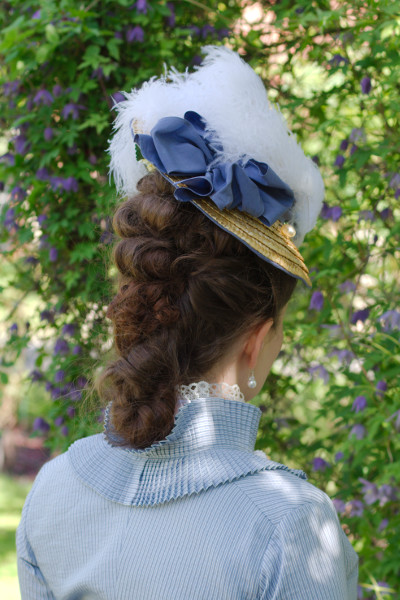
Like I mentioned earlier, figuring out the shape and the proportions of headwear while constructing it is usually a bit difficult for me. Placing the decoration is not really my strong point either, as I seem to be instinctively drawn to symmetry which just does not work where well-balanced asymmetry is the desired goal.
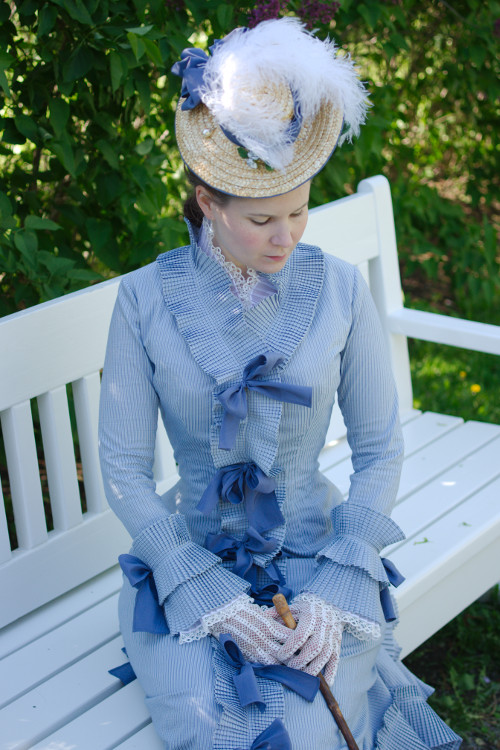
So, the hat did not turn out quite as spectacular as I had visioned, and the most stupid thing is that I can't even really point out why exactly, something is just a bit off. Also, the coloring turned out to be stronger that I had planned, and something in the contrast between the mid-blue and the straw-color is slightly jarring here. Anyway, having even a not totally perfect hat that goes with the dress is much better than going bareheaded, and it blends in with the rest of the outfit very well.