Velvet hat for the Directoire dress
As usual, my new dress needed a
hat. Hats are usually tricky for me, but I’m masochistic enough
to persevere in making them even when they are not strictly
necessary.The hat was to be mainly dark blue with some lighter tones to match the dress. I like blue, so I had several bits of possible trimming miscellania already. The hat base would quite naturally be covered with the same velvet used in the dress.
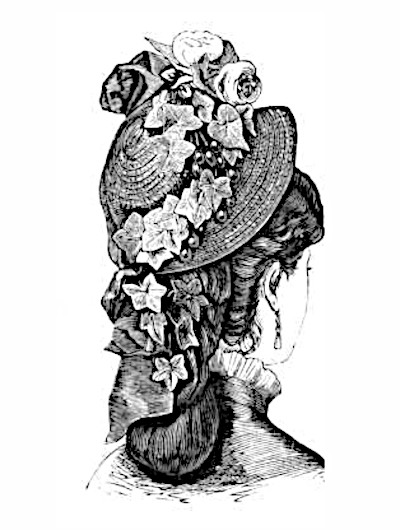
Choosing
the basic style
The basic structure and shape can sometimes be hard to tell from the period illustrations with richly trimmed specimens, at least to my uneducated eye. There are some more simple models of course to offer guidelines. This picture shows a rather simple hat shape with a brim narrow at the back and wider at the front, worn tilted back. I thought it would be a good starting point.
Construction
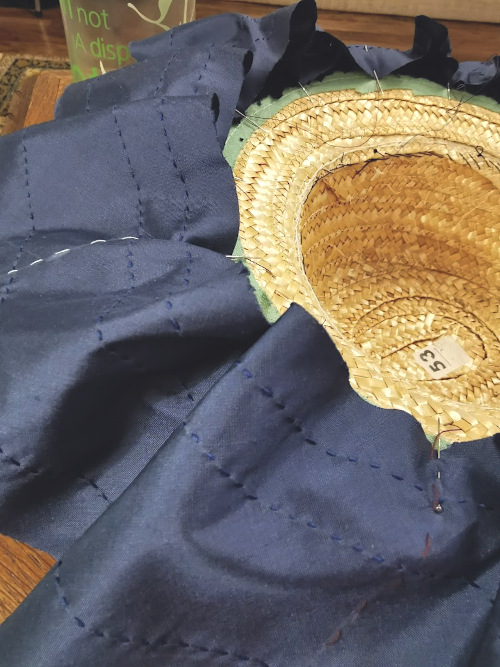
I have never yet tried to make a real buckram hat base, though it’s something I really have to learn some day. As I had plenty of straw in stash (both as ready made hats and partly demolished ones) I decided to stick to the more familiar method. The surface created by coarse straw is of course uneven, but I thought it would be quite well concealed by the thick velvet.
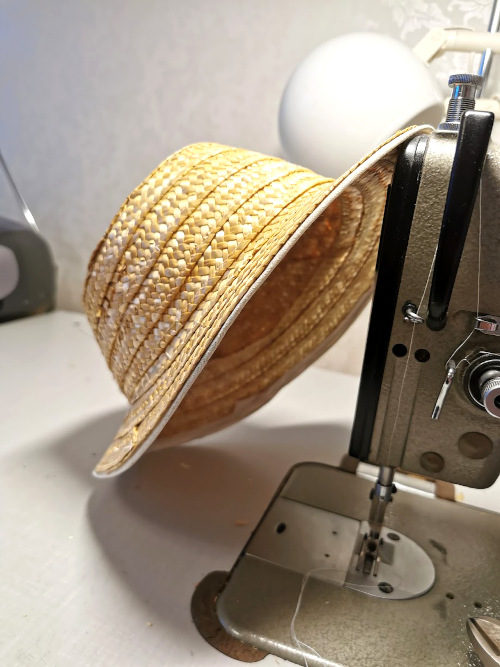
The challenge with straw, especially the cheap one that comes in wide plaited strips is to get the shape symmetrical as you’ll have to rely more on your eye and measure tape than patterns. Slightly irregular shape can be disguised with ample trimming, of course. The other challenge is to get it neat where you have to join pieces, and if you are sewing it by machine there is the added challenge of wrangling the part you want under the pressure foot. I put together the straw hat for my cream and navy walking dress by hand, and it looks pretty neat even though the straw is coarse. But this time this was not an issue because all the ugly stitching would get hidden away.
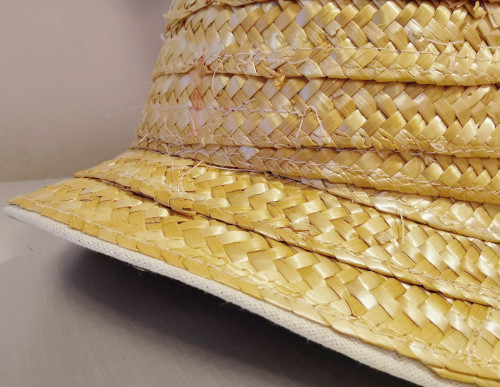
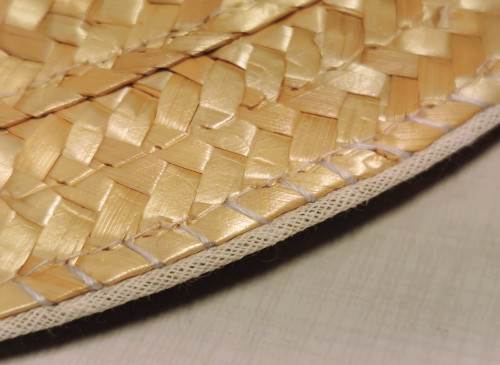
The straw base was very sturdy, but I added a wire on the brim edge for extra security and so I could bend the shape a little if I wanted. I closed the wire in a bias band and sewed it on the edge with slanted stitches placed between the straw blades. At this point I shaped a pattern for the fabric cover bits.
Like I mentioned earlier I was fairly sure that the straw edges would not show through the velvet, but it never hurts to be extra sure, so I added an underlayer of coarse muslin by the combination of sewing and glue. This layer would also be useful when sewing on the top materials, as I could sew them into the muslin and not through the heavy and brittle straw.
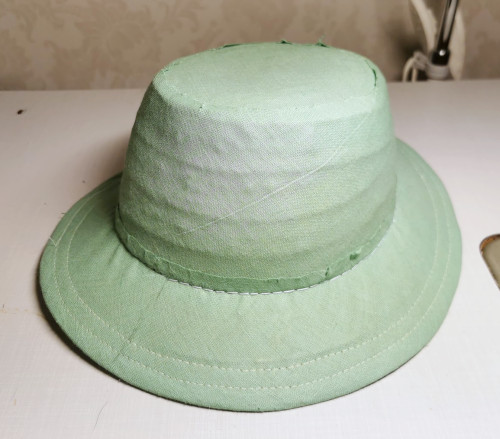
I put on underlining on the crown top first, then round the crown and finally on the brim. As you can see in the pictures, at this point the straw construction was still clearly visible through the fabric, particularly on the crown where it had been glued on, less on the brim.
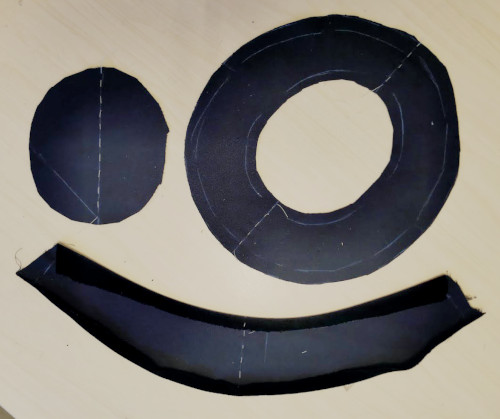
Yes, I'm aware that this
looks like a really weird smiley face.
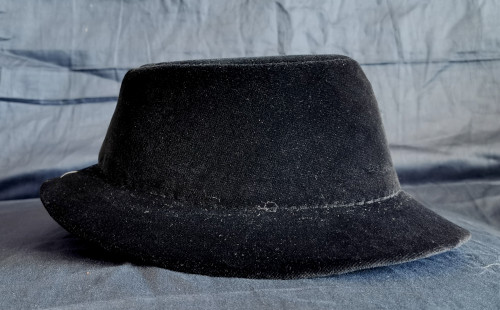
Next I added the velvet. I had cut the pieces according to the patterns I had made, but left a good allowance on the edges. First I folded both edges of the crown piece, pinned it on and made sure the folded edge matched the hat shape. I also checked the length, then pressed the folded edges slightly and closed the seam.
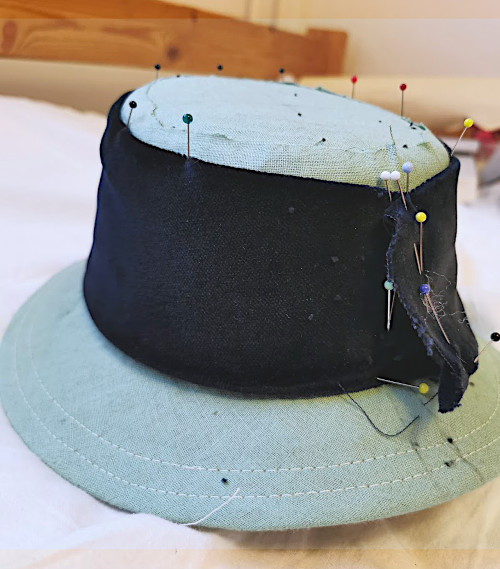
I carefully trimmed the seam allowance of the brim piece where it was to join the crown, and very carefully pulled it in place. I had to make some cuts in the allowance of course, but I tried to not to cut them too deep in fear of fraying. Then I sewed the velvet on the base through the join of brim and crown with long back stitches and thick thread.
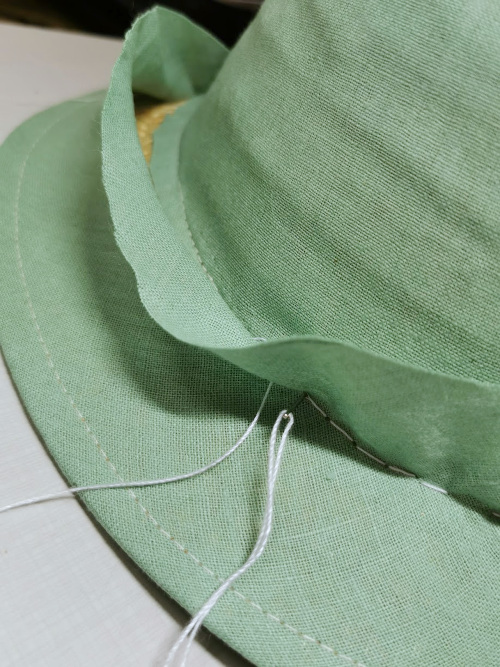
As you can see in the picture, I had turned the underlining to go some way under the brim so I could sew things in it and stitched it on. Now I pinned the edge of the velvet to turn under the brim and whip stitched it on the underlining.

Next I added the crown top piece, pinned and whip stitched it in the base. Then I pinned the crown side piece on and sewed it to the top piece with tiny slip stitch. As the velvet seam allowances created some bulk I got the idea to add a layer of wadding in between to fill the hollow. This was easy to glue on. Then I could pull the crown side piece on its place and sew the lower edge too.
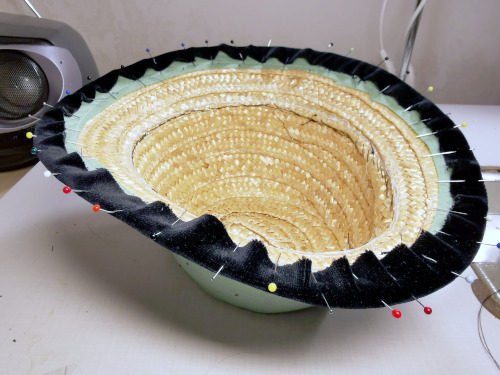
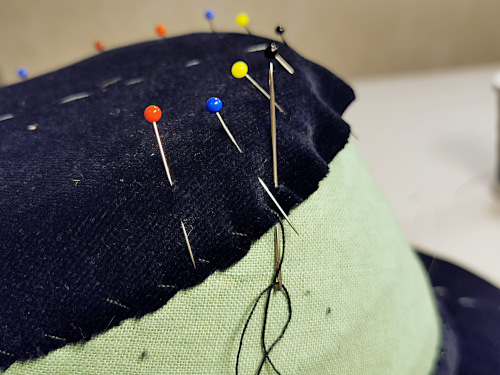
The underside on the brim needed a lining, of course, and a ruched silk matching the dress would be the obvious choice. I cut a bias piece of double length of the brim circumference and generous width. I basted threads at intervals to help to gather it evenly. I had sewed the gathering threads for the aforementioned lined straw hat by machine and regretted it when I pulled them in, so now I decided to sew them by hand even if it took some time. I also used a thicker thread so it would not break all the time.
When sewing the lining on I first divided the brim circumference with the amount of marking threads I basted on the lining. Then I marked the places on the brim by pins, and pinned the lining on these. I pinned the lining between these points by dividing both the brim edge and the lining folds in twos again until I had enough fastened points to manage an even gathering between them.
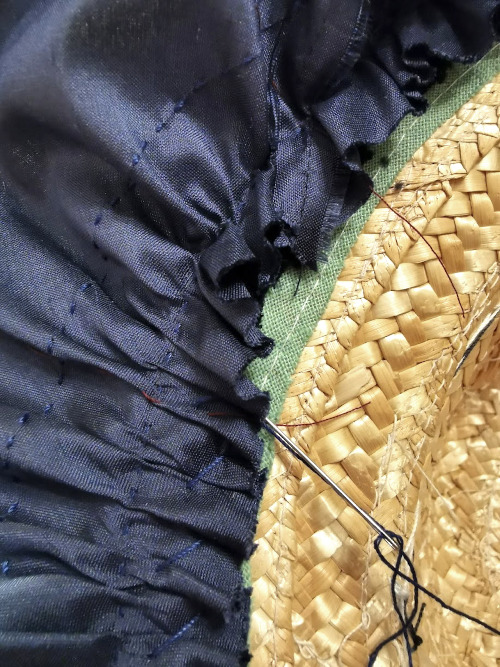
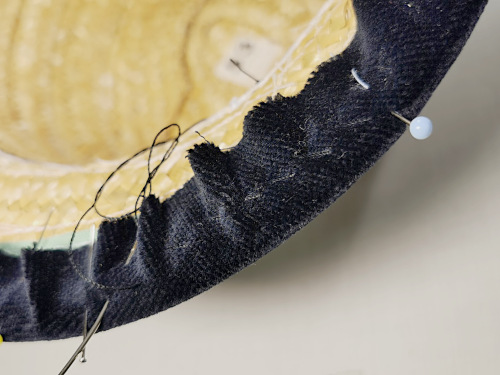
Then I pulled the threads in bit by bit. I sewed the lining on velvet on the brim edge through the first gathering line and then turned it to face towards the crown. Then I pulled the second gathering thread, arranging the gathered folds to point straight towards the crown while I went. Then I finally pulled the last gathering thread and whip stitched the lining inside the crown base.

I had been a bit confused as to whether the lining should turn on the top side of the brim, start from the edge or a bit under it, and at last I decided on the edge option. Unfortunately in the process of pulling the threads in and sewing the other edge on the crown base the lining edge slipped a full 5mm from the edge, which makes it kind of hide under the brim.
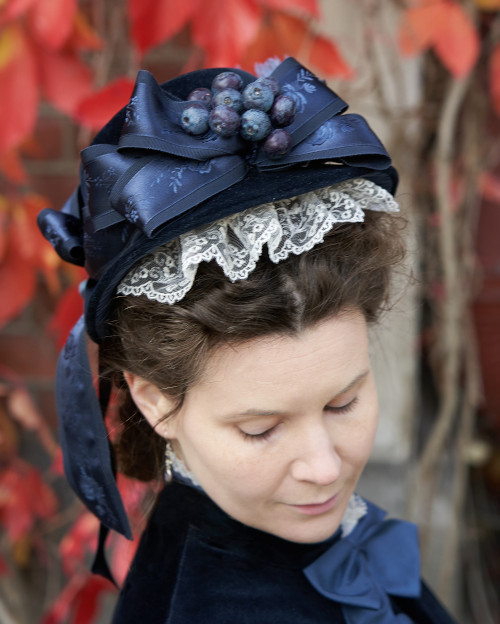
Trimming
Now it was time for the trimming, which should be the fun part but which I usually find tricky. I have noticed that my brain always seeks symmetry and I have huge difficulties in creating a balanced asymmetrical design.
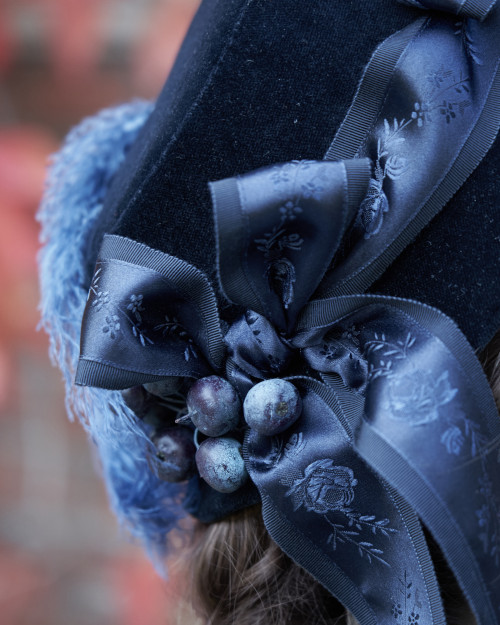
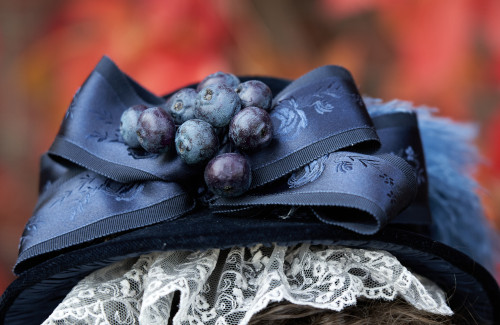
I had several trimming materials I wanted to use. First of all I had lovely giant fake blueberries that I had bought years and years ago because I knew I would absolutely use them for something some day.
Then I had several different options for ribbons. Some were a too different shade of blue, but a few seemed promising. First of all I had a real, thick quality rayon hat ribbon in very dark, subdued navy. Another one that might work was a more flashy shiny satin ribbon with a woven floral design that to me just screams “victorian”. I initially thought to use separate loops of both, but then it came to me that I might try to combine them into one. Now, I’m not sure if this was common in the era, but one thing that really impressed me at the Tirelli Costume Exhibition I was lucky enough to see last year was the amazing looks created by layering trims upon trims and combining them in very clever ways. So I bravely went and sewed the satin ribbon over the wider plain ribbon, and I really like the result. The satin ribbon would have been quite flimsy and limp to be used alone, and the sturdier and matte hat ribbon looked a bit plain by itself, so the combination complimented both.
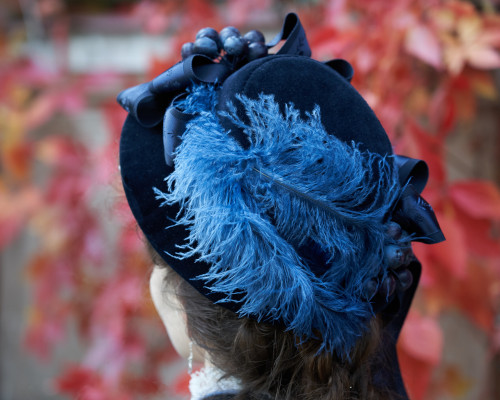
I had from the start planned to take the easy and secure route by placing the big main bow with some extra loops on the sides in the center front of the hat, and sticking a bunch of blueberries in the middle. But then I had to figure out what to do with the rest. I pulled the ends of the ribbon back to circle the crown, and kind of wanted to end them in a smaller bow at the center back but that would honestly look really really boring. I tried to place the smaller bow on the other side towards the back, which worked better. I also added another bunch of blueberries behind it. But then the other side was left to look rather bare.
I had been undecided as yet whether to use feathers or not - they look fancy and dramatic to be sure, but I thought I maybe wanted to go for a more subtle effect. But then the other side of the hat seemed to need something, and as I noticed that the flash of lighter color that the lining was supposed to be did not show that much I began to think I might have to try the feathers after all.
I had white ostrich feathers in stash, and set out to dye them. Dyeing is in my experience always a risky business, and this one did not go without some setbacks either.
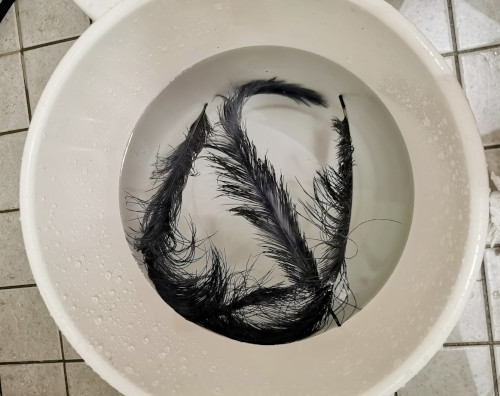
First I picked a color that I had already used for the lining of my Tissot-polonaise, which had turned out great, and tried to use for the silk bows which had mysteriously turned out in a totally different color. I might have been wiser this time than to use the same dubious concoction, but I was convinced that something must have gone wrong in the dyeing the second time. After all, the shade of greyish blue would have been just right.
Of course the feathers turned lilac. I did not pour in the vinegar to set the color, but just rinsed them well and decided I could use them for something else, because the super light tone of greyish violet was not bad at all. Then I rushed to buy the next color, which came out too turquoise. The third one I used over the now turquoise feathers created a more neutral tone, but it still looks a bit more flashy than I had intended. Depending on the light it either matches the dress silk moderately or not at all, even though it for some reason looks quite matchy in the photographs. I could in theory try dyeing more feathers and if I succeed change them and use these for something else, but for now they will do.
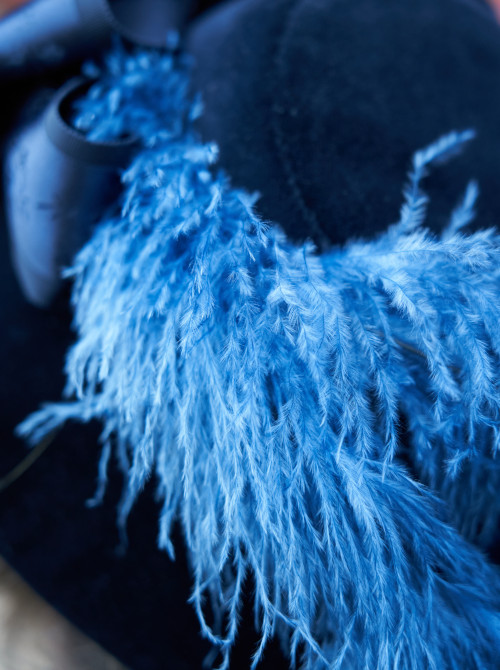
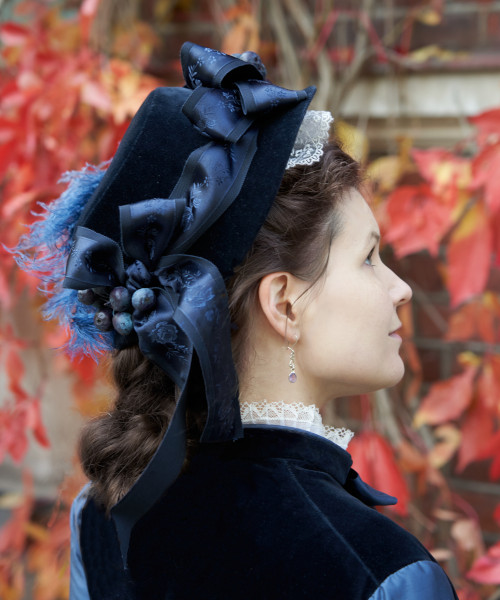
Then there was the debacle of trying to curl the feathers by rolling them when still wet (they became rolled up indeed), wetting them again, then blow drying them vigorously to get them fluffy. I ended up bending them a bit at the ends when dry, and it worked much better. At last I arranged them on the left side of the hat and sewed them on behind the ribbon loops. I have to admit that the feathers do give the hat a lot of look and brighten up the dark color.
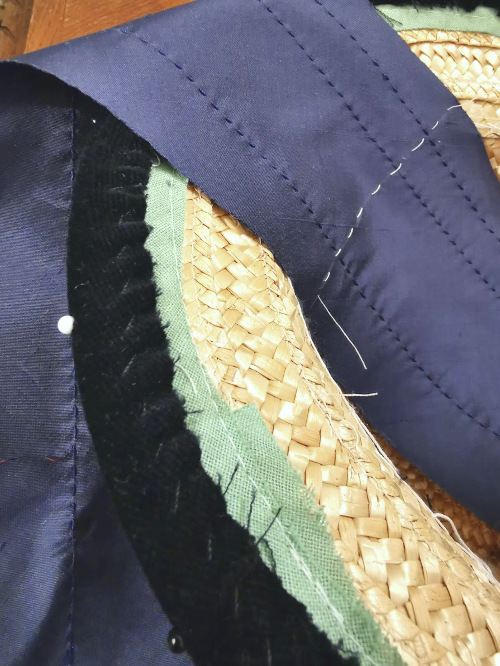
My modern self half wanted to call the hat finished at this point, but I felt that I would have to add a bit of lace under the brim. It would again bring some contrast and a flash of lightness, and above all give a very period look. I found a barely long enough leftover bit of an embroidered tulle lace, technically suitable for the era, and gathered and sewed it inside the crown base. Then I sewed on the crown lining.
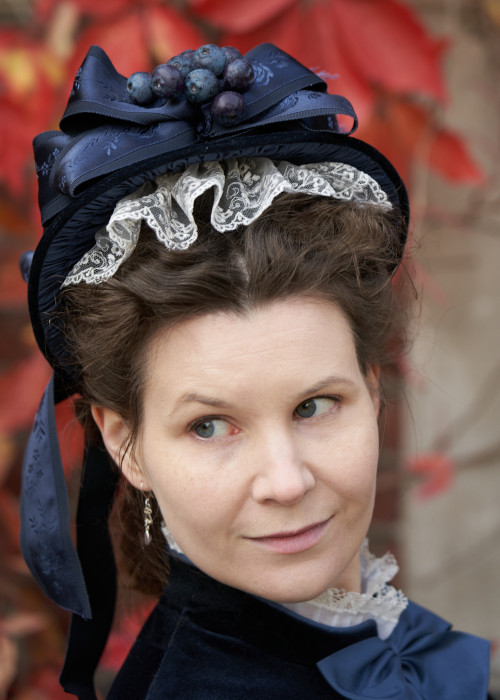
That lace has the disadvantage of further hiding the ruched silk lining that was one of my favorite details in the hat, and to be honest a lace trimmed bonnet is beginning to have a serious biddy effect on me. For some reason I don’t have any problem with pastel tones of abundance of lace in the 18th century, but in Victorian garb they can look either a bit girlish or fussy. But in a weird way I kind of like that look, because like I said, it looks right for the period even though the modern conception of elegance might be a bit different.
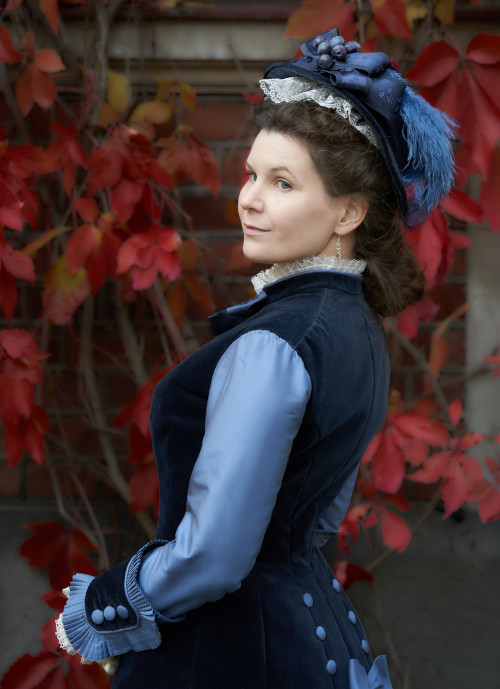
Anyway, in total I’m happily surprised about how nice the hat turned out to be in the end. It’s perfect for the dress and will probably work with something else in the future too.